Each organizer in this gallery gets its own page. A build is added only when there is real evidence to show: a finished object, a drawing, dimensions, feedback or a documented revision.
DESIGNBUILDFEEDBACKREVISION
Finished organizers
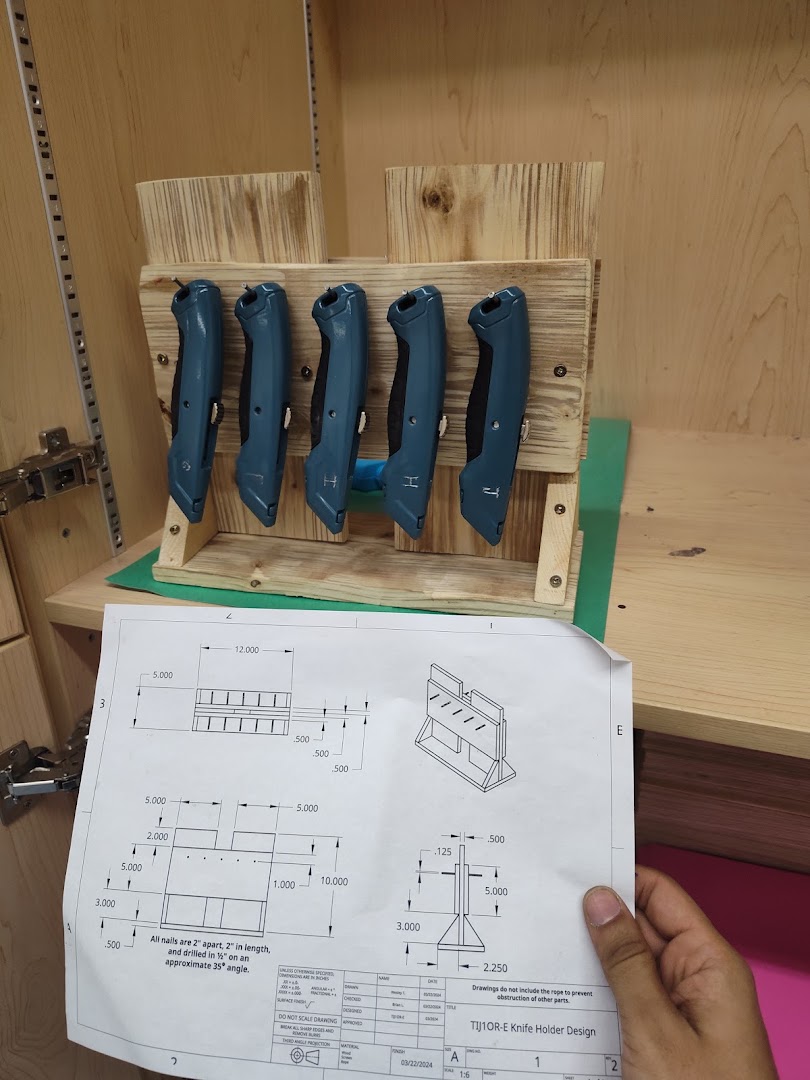
Grade 9 · Built and photographed
A full-size annotated photo shows why the organizer is easy to carry, easy to use and able to stand on a bench. The page also shows the drawing, two documented iterations and a possible one-sided French-cleat version.
Study this organizer
A practical test
- Glance test: Can another student identify every tool and notice what is missing?
- Reach test: Can the user remove and return each tool with a natural grip?
- Tip test: Does the organizer remain stable when the heaviest outside tool is removed?
- Carry test: Can it be moved without loose tools falling out or the structure flexing?
- Mount test: If it hangs, can it be attached, removed and loaded without pulling away, rotating or lifting off accidentally?
Record the result of each test. A claim such as “wall-mountable,” “portable” or “stable” is not complete until the actual interface has been built and tested.
From measurements to a prototype
- Compare the finished examples and decide which features fit the real tools and user.
- Measure the real tools, including handles, collars, tapers and the hand clearance needed for removal.
- Draw the concept using orthographic views and an isometric or assembly view.
- Use the Fabrication Plate Builder for plates, rings and repeated holder holes.
- Use the Laser-Cut Leg & Support Builder when the organizer needs a freestanding base, legs or a rear support.
- Browse the Laser-Cut Gallery for reusable geometry and design directions.
- Make a small fit test before building the complete prototype.
- Photograph the build, collect feedback and record the next revision.
Add a future build
Each new organizer page should include a full finished photo, the original drawing, the problem, key dimensions, materials, fabrication method, what worked, feedback, the next revision, downloads where appropriate and a clear validation status.
Do not mark a design “validated” merely because a file renders or a digital assembly looks plausible. Distinguish drawing available, dimension-tested, fit-tested, shop-tested and photo documented. If evidence is missing, say so instead of filling the gap with a stock or generated image.