Lesson 3: Combine the Logo and Nameplate
Learning goals
By the end of this lesson:
- I can place a logo in another Photopea file.
- I can resize a logo without stretching it.
- I can align a logo and name so the design looks balanced.
- I can save PSD, PNG, and SVG files.
Why this is useful
A logo and a name should look like one design. Good size, spacing, and alignment make the nameplate easier to read and ready for the next project.
What you will make
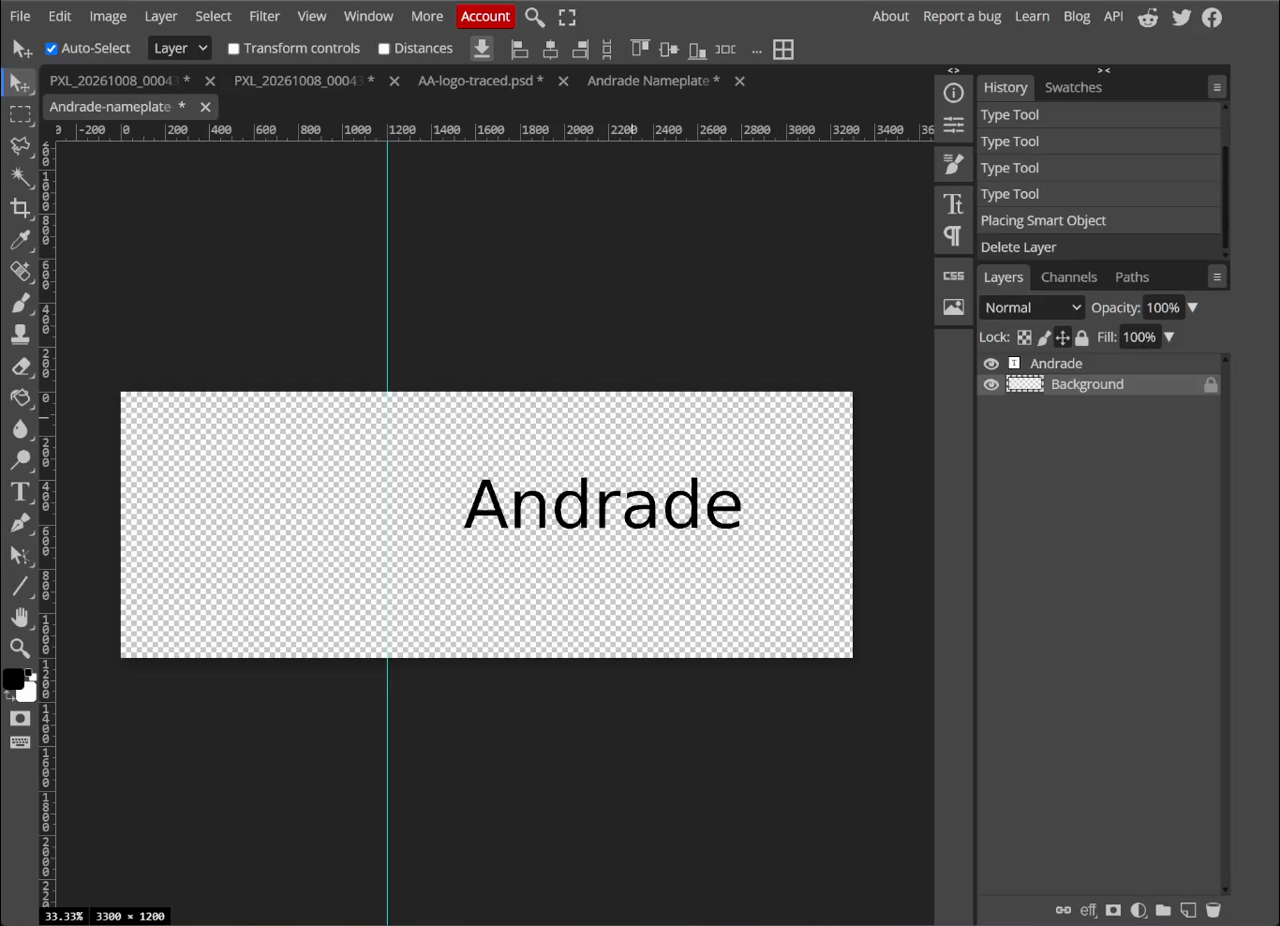
You will add the logo from Lesson 2 to the empty 4 × 4 inch space from Lesson 1. The final design has no background.
Before you start
Finish these lessons first:
- Lesson 1: Build the Nameplate Text
- Lesson 2A: Warm-Up: Trace the AA Logo
- Lesson 2B: Trace a Multi-Layer Logo
You need the nameplate PSD and the finished logo SVG.
1. Open the nameplate
- Open Photopea.
- Choose File > Open.
- Open
Andrade-nameplate-text.psd. - Check that the 4 inch guide is still visible.
2. Place the logo
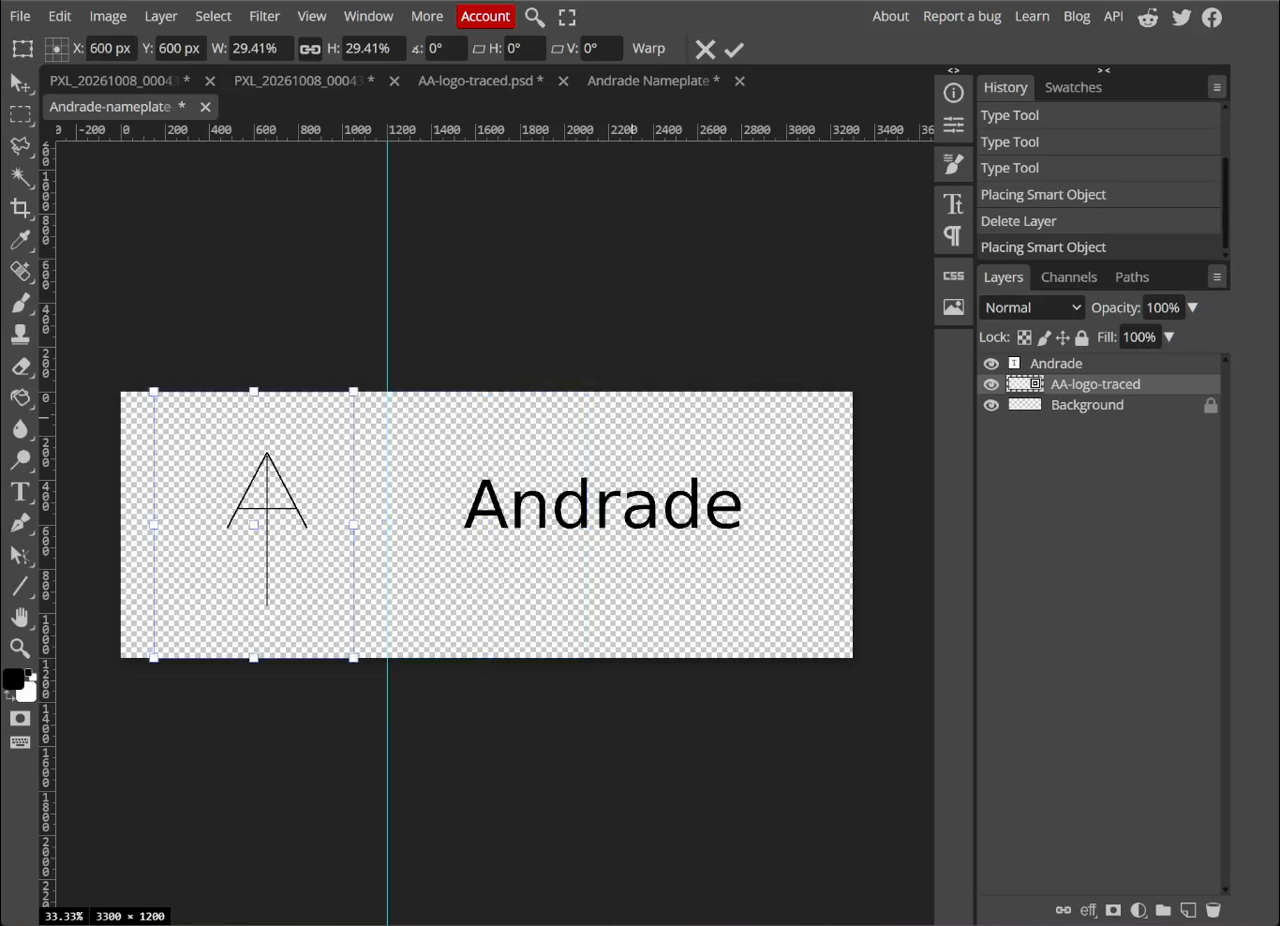
- Choose File > Open & Place.
- Choose your finished logo SVG.
- Keep the link between W and H turned on. This keeps the logo’s shape.
- Drag a corner to resize the logo.
The logo may cover the name at first. That is normal. Resize it before judging the spacing.
3. Fit the logo in the left square
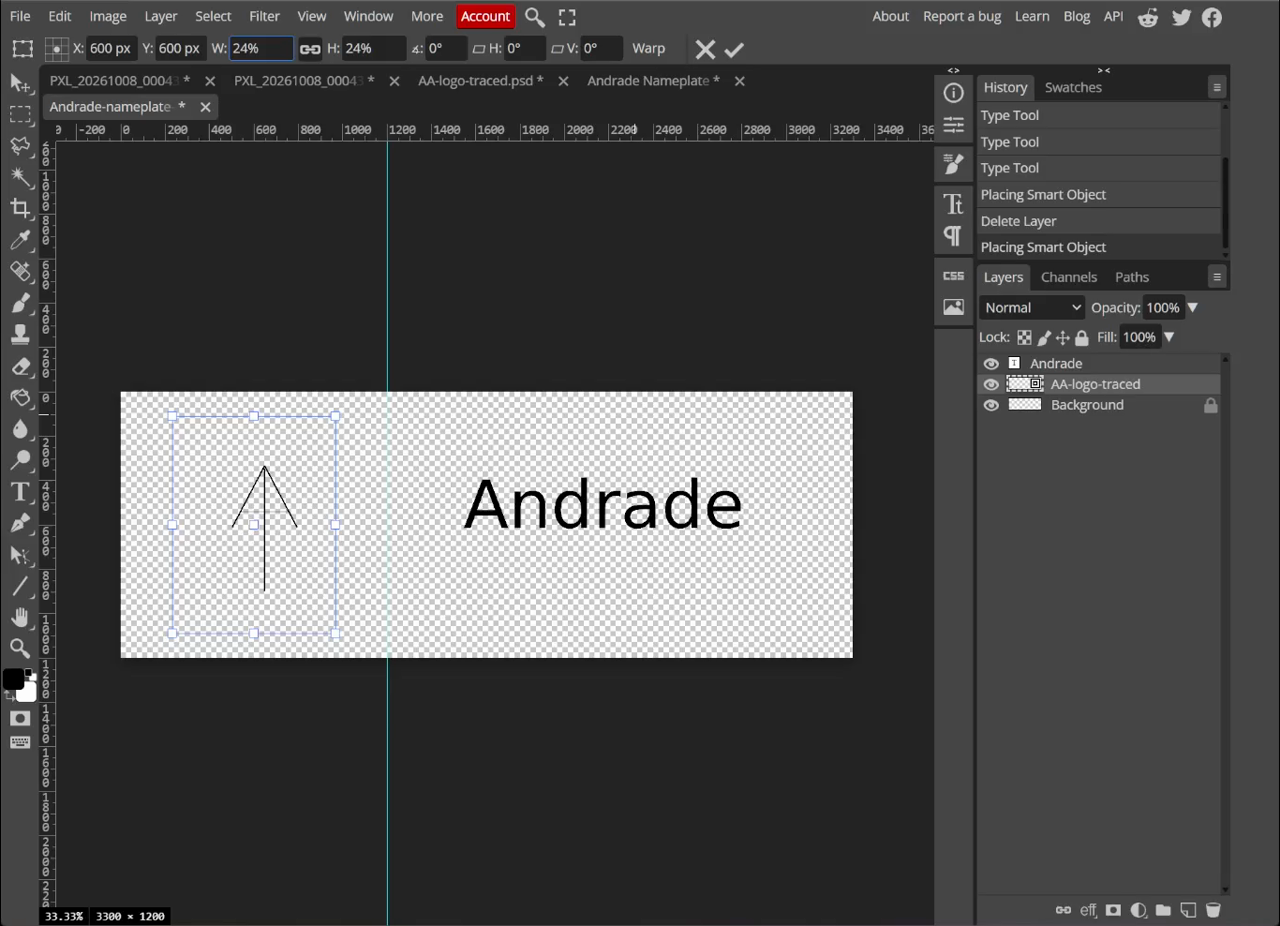
Move the logo into the left 4 × 4 inch space.
For the example:
- the logo centre is near
X: 600 pxandY: 600 px; - the width and height are about
24%; and - the logo stays inside the guide with clear space around it.
Your logo may need different numbers. Keep its shape locked and judge the empty space around it.
4. Check the full design
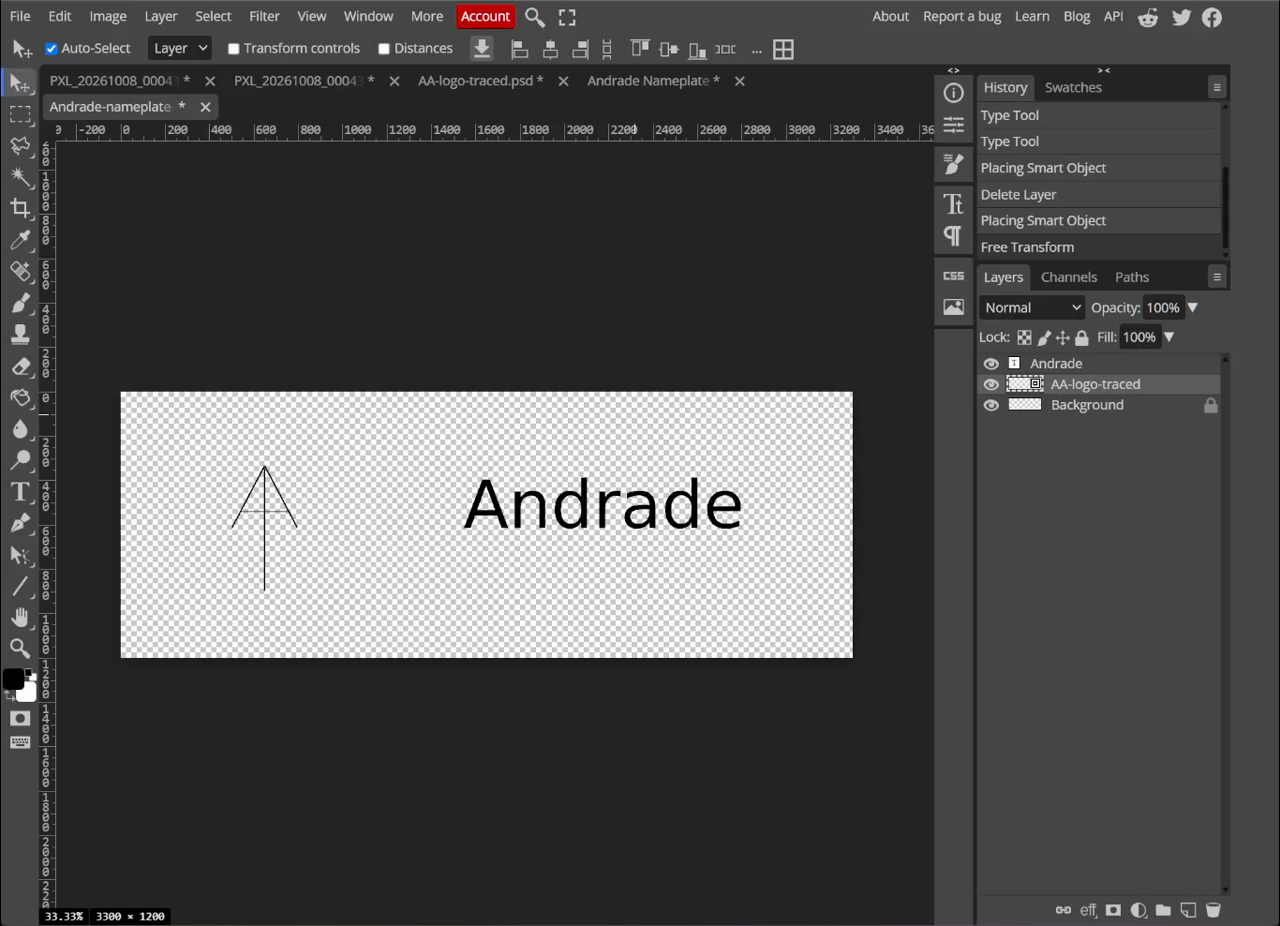
- Press Enter or choose the checkmark to finish the transform.
- Hide guides with View > Extras or
Ctrl+H. - Look at the logo and name together.
Check these points:
- The logo has room on every side.
- The logo and name feel centred from top to bottom.
- The space between them is clear.
- The name is still the easiest part to read.
- Nothing touches an edge.
5. Save the PSD and PNG
Every filename must begin with your student number, followed by your last name. Replace studentnumber and lastname below with your own information.
- Choose File > Save as PSD. Name it
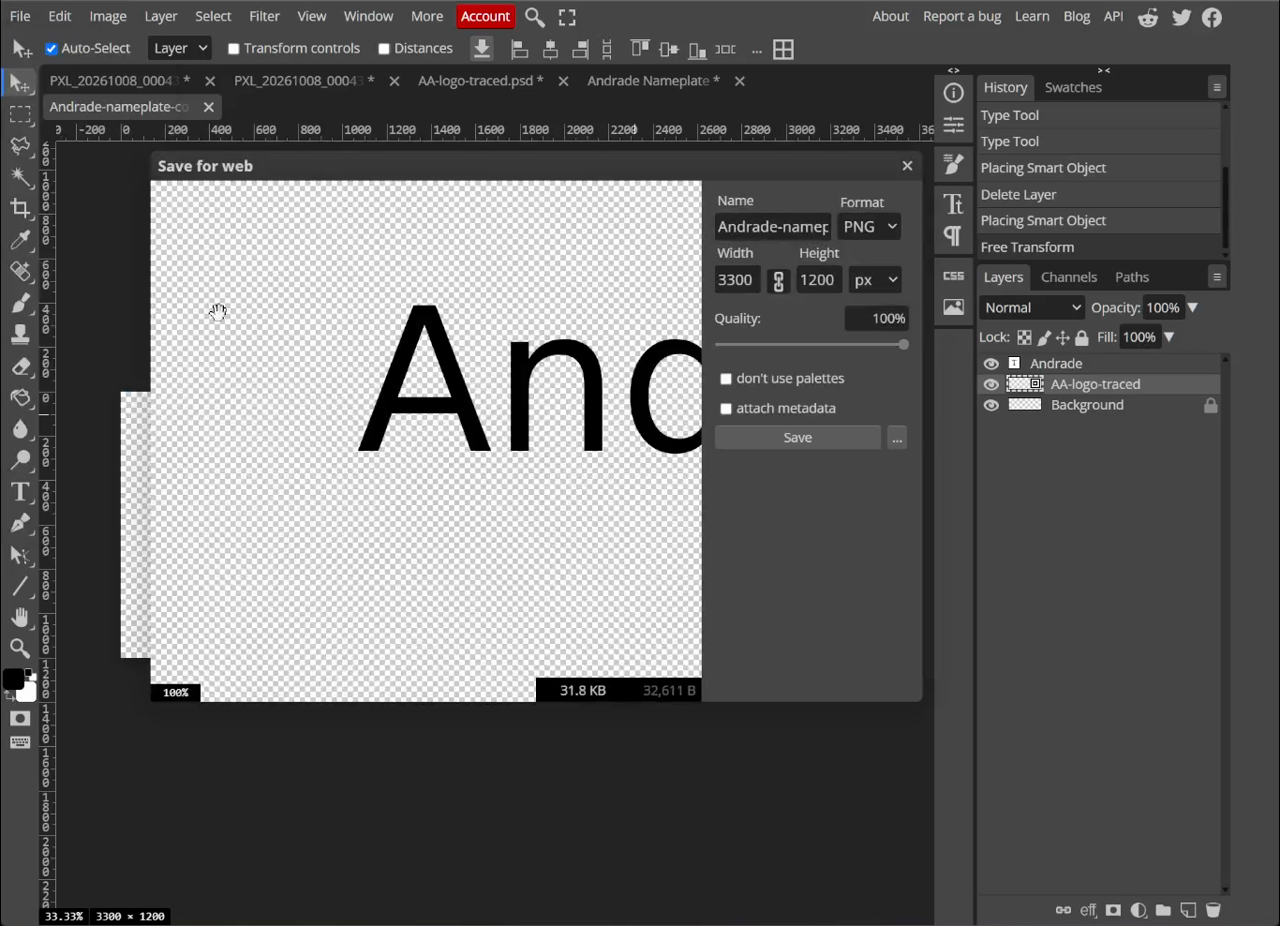
studentnumber-lastname-nameplate-complete.psd. - Choose File > Export as > PNG.
- Check that the size is
3300 × 1200 px. - Name it
studentnumber-lastname-nameplate-complete.png. - Choose Save.
The PNG should show the logo and name on a transparent background.
6. Export a true vector SVG
A placed SVG can stay as a smart object in the PSD. Photopea may leave that smart object out of a normal SVG export.
Use this checked method:
- Choose File > Open and open the logo SVG in its own Photopea tab.
- Select the logo’s vector layers in the Layers panel.
- Copy them with
Ctrl+C. - Return to the nameplate tab and paste with
Ctrl+V. - Resize and place the pasted vector layers in the same position as the smart-object logo.
- Hide the smart-object logo so there is only one visible copy.
- Check that the name and the pasted logo paths are both visible in the Layers panel.
- Choose File > Export as > SVG.
- Leave add raster graphics off.
- Name it
studentnumber-lastname-nameplate-complete.svg, then choose Save.
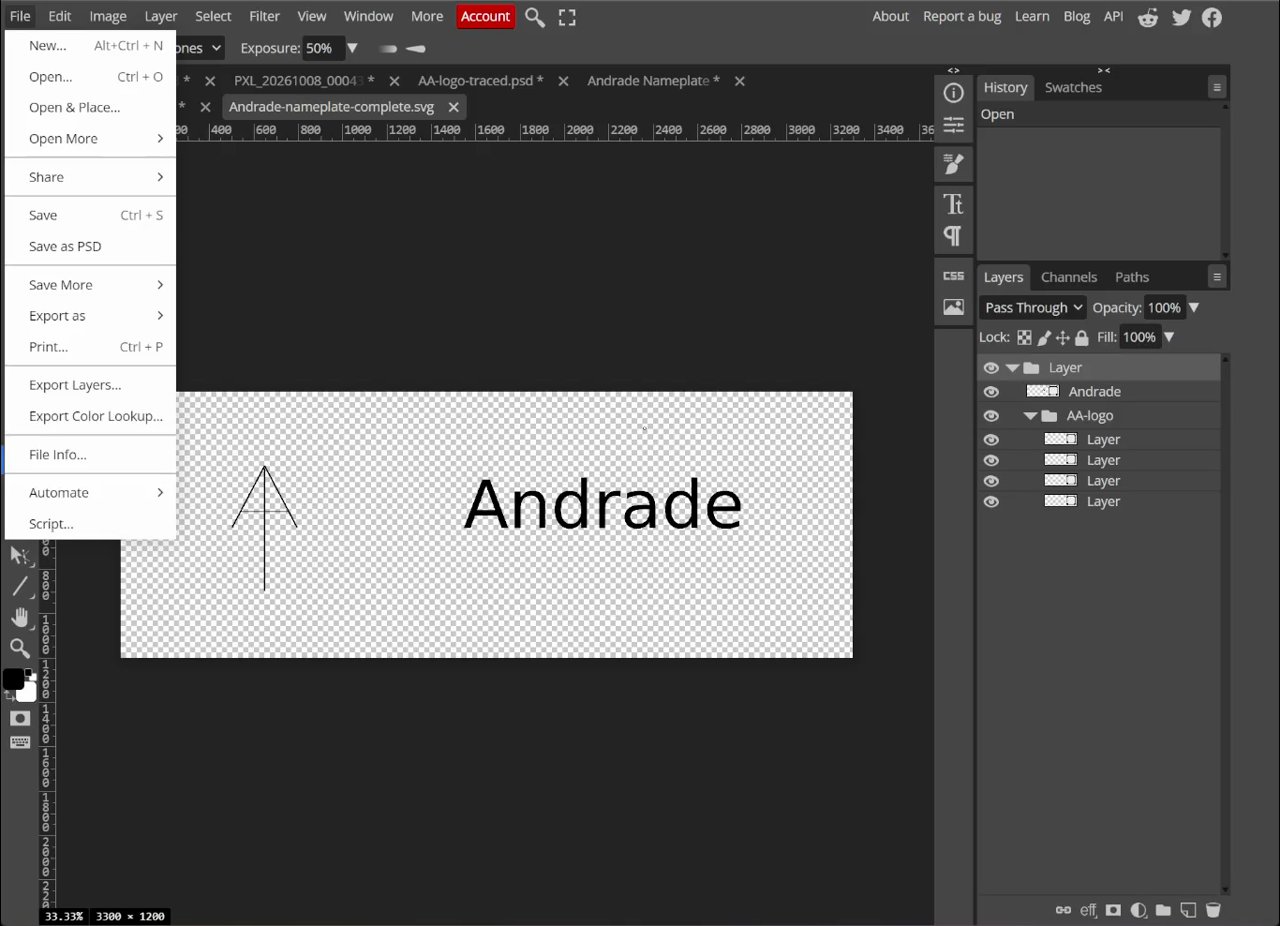
Open the exported SVG. Make sure both the logo and the name appear. If the logo is missing, do not submit that export. Use the checked all-vector SVG below.
Download the finished example files


Submit
Submit all three files:
studentnumber-lastname-nameplate-complete.psdstudentnumber-lastname-nameplate-complete.pngstudentnumber-lastname-nameplate-complete.svg
Example: 123456789-Smith-nameplate-complete.psd
If Photopea downloads a file with the wrong name, rename it before you submit it. Keep the file ending, such as .psd, .png, or .svg.
- Open the Launcher, then open Files.
- Open Downloads.
- Select the file.
- Press
Ctrl+Enter. - Type the required filename, then press
Enter.
- Open File Explorer with
Windows+E. - Open Downloads.
- Select the file, then press
F2. - Type the required filename, then press
Enter.
- Open Files.
- Open Downloads.
- Select the file, then press
F2. If that does not work, right-click the file and choose Rename. - Type the required filename, then press
Enter.
Do not remove or change the letters after the final dot. For example, an SVG filename must still end in .svg.
Official help: Chromebook Files, Windows File Explorer, and Ubuntu Files.
Common issues
- The logo looks stretched: undo, turn on the W/H link, and resize from a corner.
- The logo is too close to an edge: make it smaller and centre it again.
- The design has a white background: hide or remove the background layer before export.
- The SVG is missing the logo: the placed logo stayed as a smart object. Use the all-vector file and export again.
- The name and logo do not feel connected: adjust the gap. Keep enough space so they do not touch.
Design curriculum: This lesson combines the files from Lesson 1 and the multi-layer tracing example. Next, use the worked ANDRADE example to design a name tag with your own name and logo.
Summary
You placed the logo in the 4 × 4 inch space, kept its shape, checked the full layout, and made PSD, transparent PNG, and vector SVG files.
Previous: Lesson 2B: Trace a Multi-Layer Logo. Next: Your Turn: Design Your Own Name + Logo Name Tag.