Build Steps
Lay out, cut, drill, notch, sand, fit, and finish the phone holder.
ImportantUse your shop process
This is not a safety guide. Follow your teacher, training, and local rules.
Pick your plan
- Level 3: use the current premade plan.
- Level 4: use your approved CAD drawing.
1. Lay out
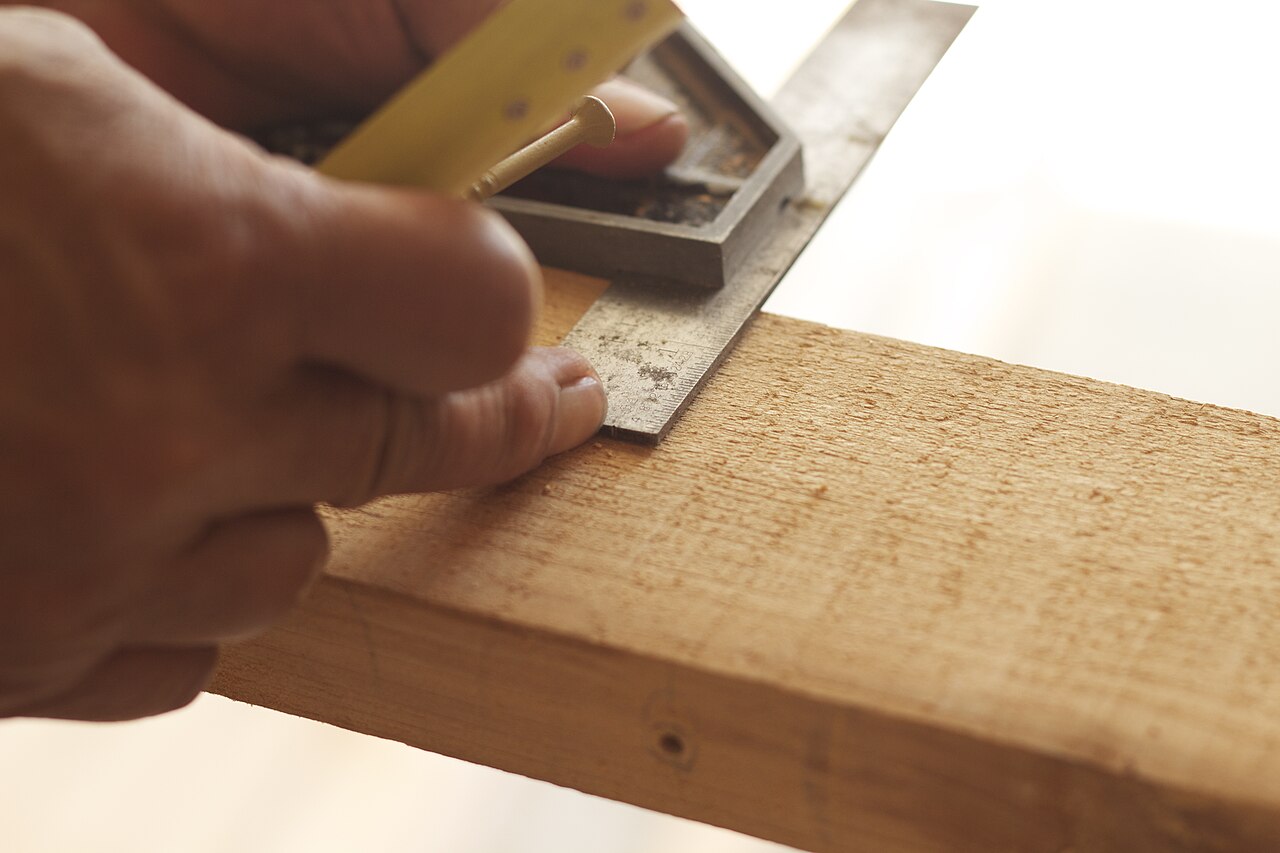
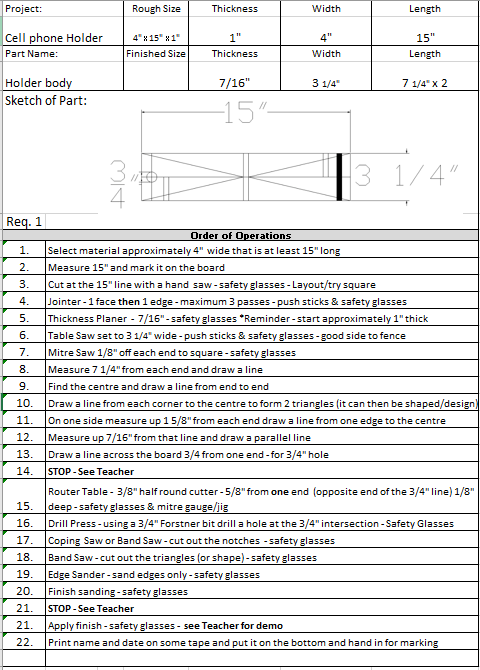
Mark the edges, holes, and slots. Check every size.
2. Cut the parts
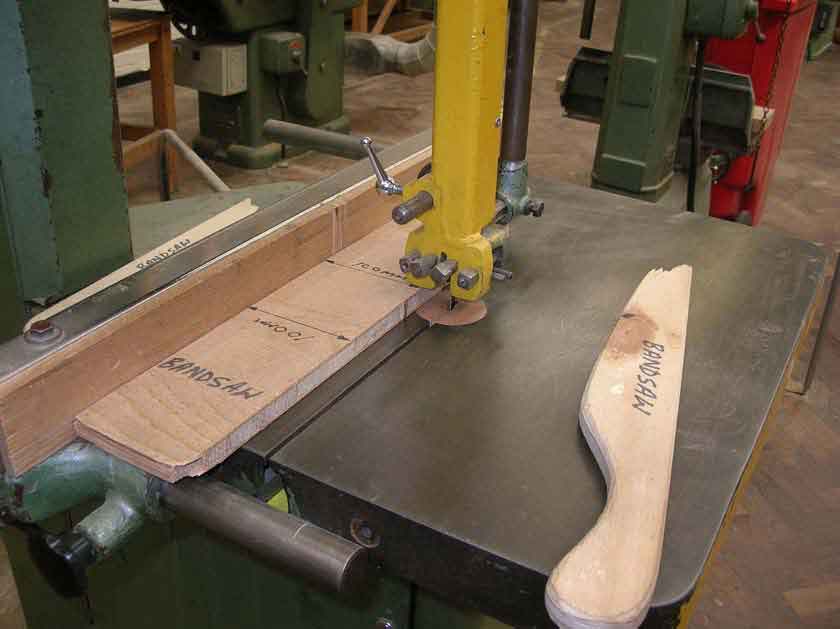
Cut the outside shape with the chosen saw.
3. Drill the opening

Drill at the marked point.
4. Cut the slots
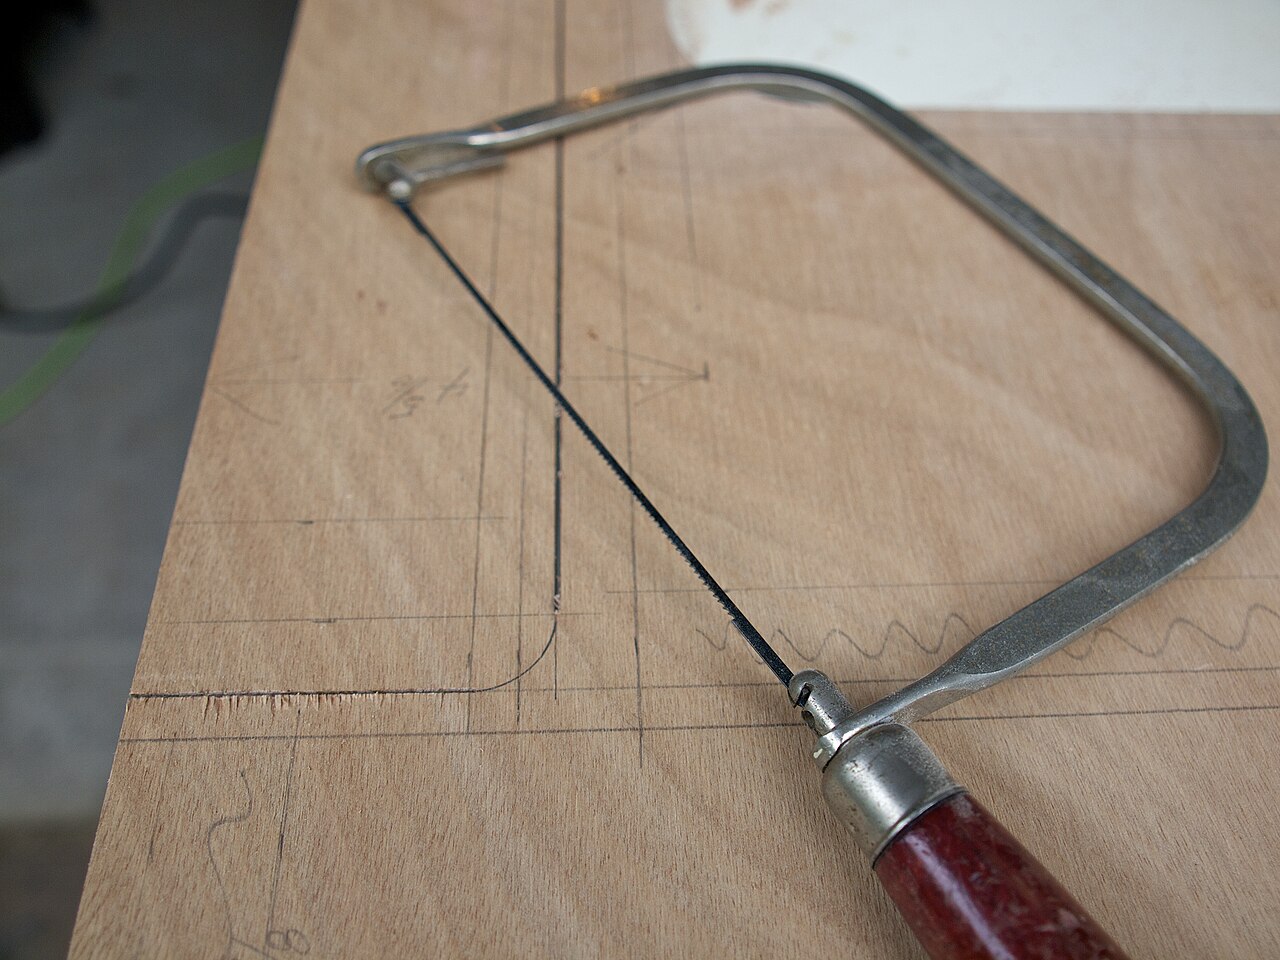
Cut the slots that join the parts.
5. Shape the edges
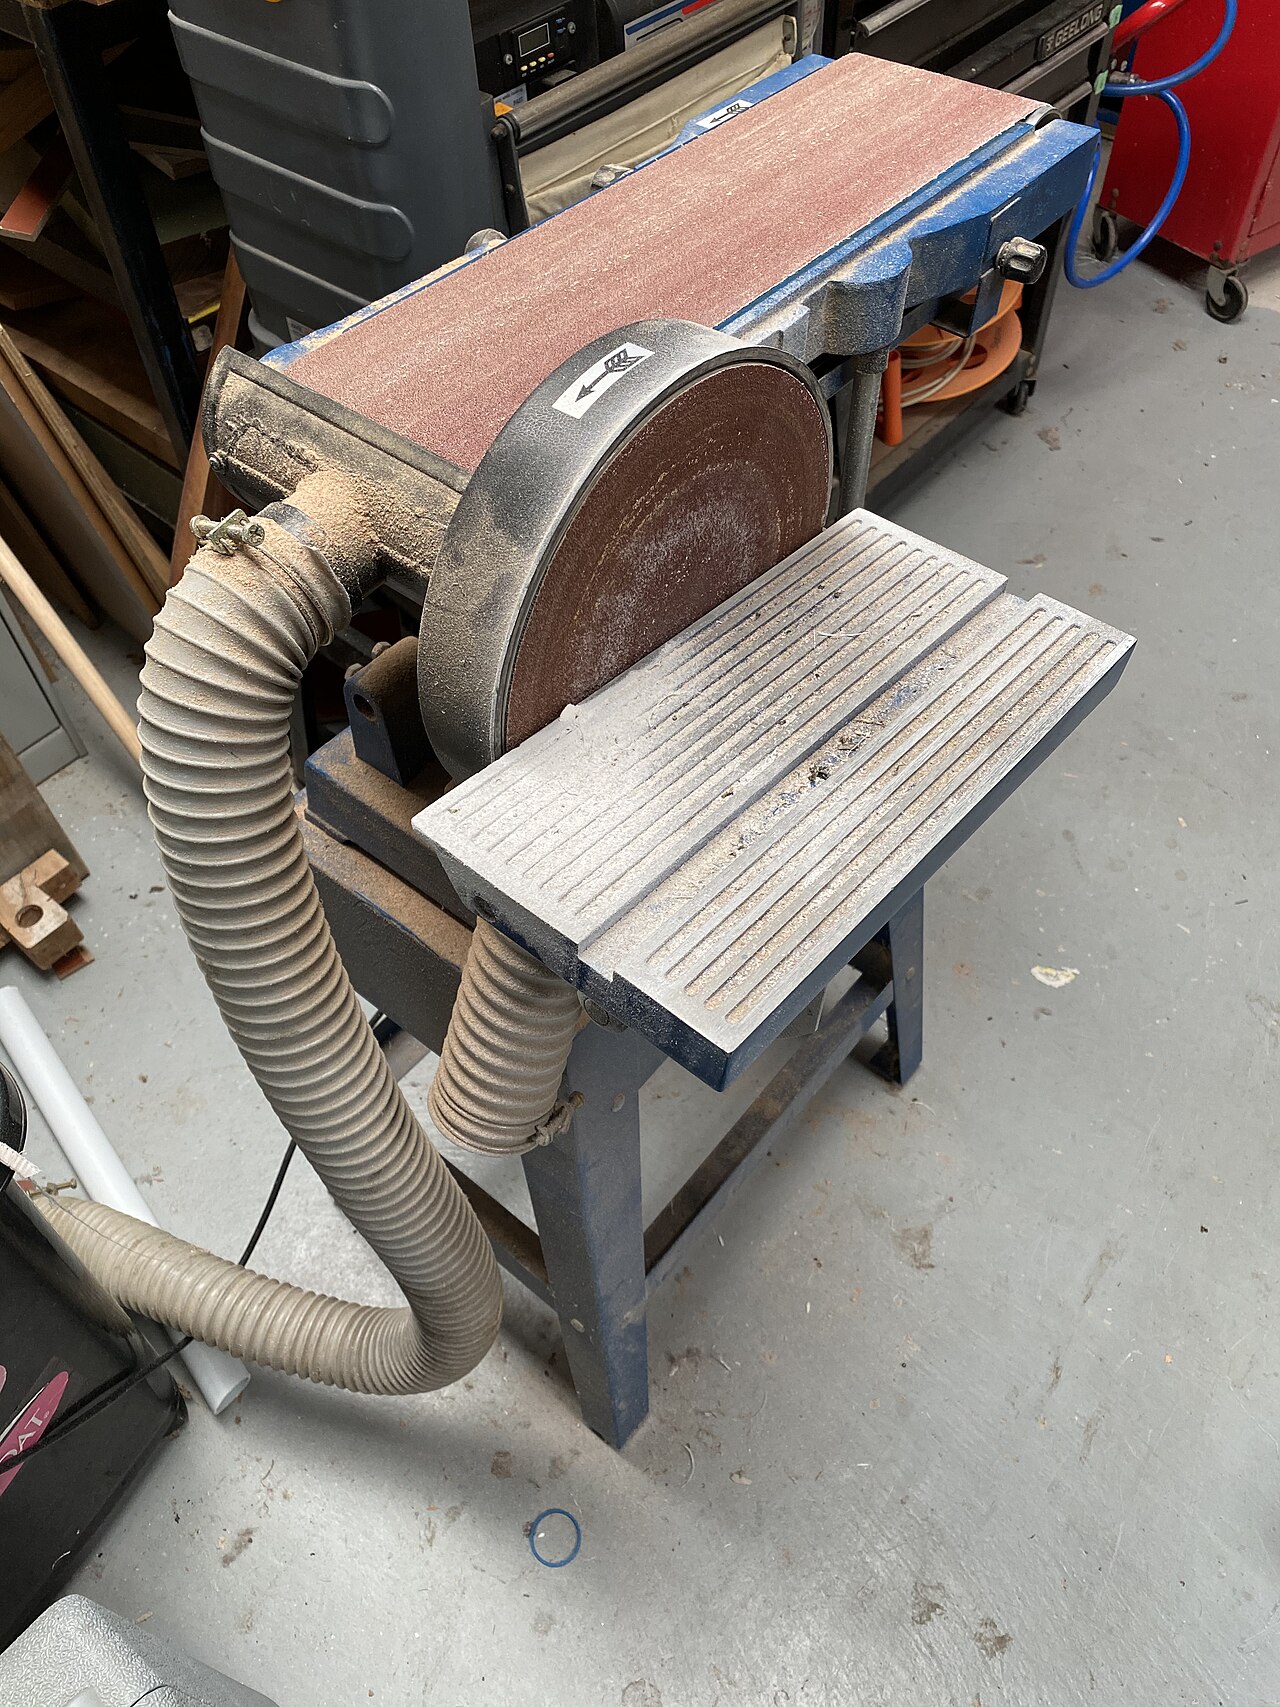
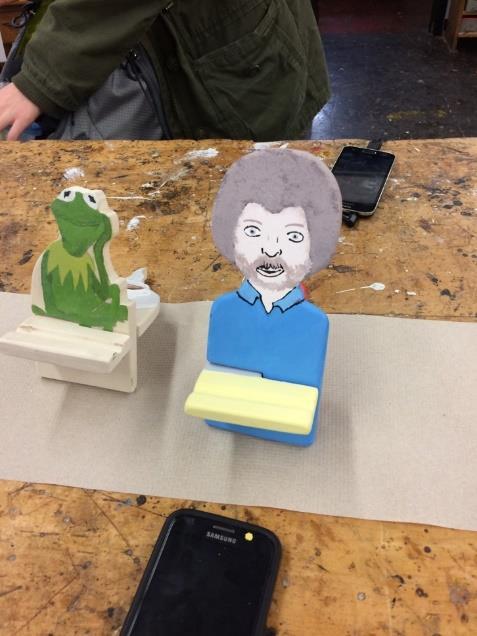
Shape the outside edges. Keep checking the drawing.
6. Finish sand
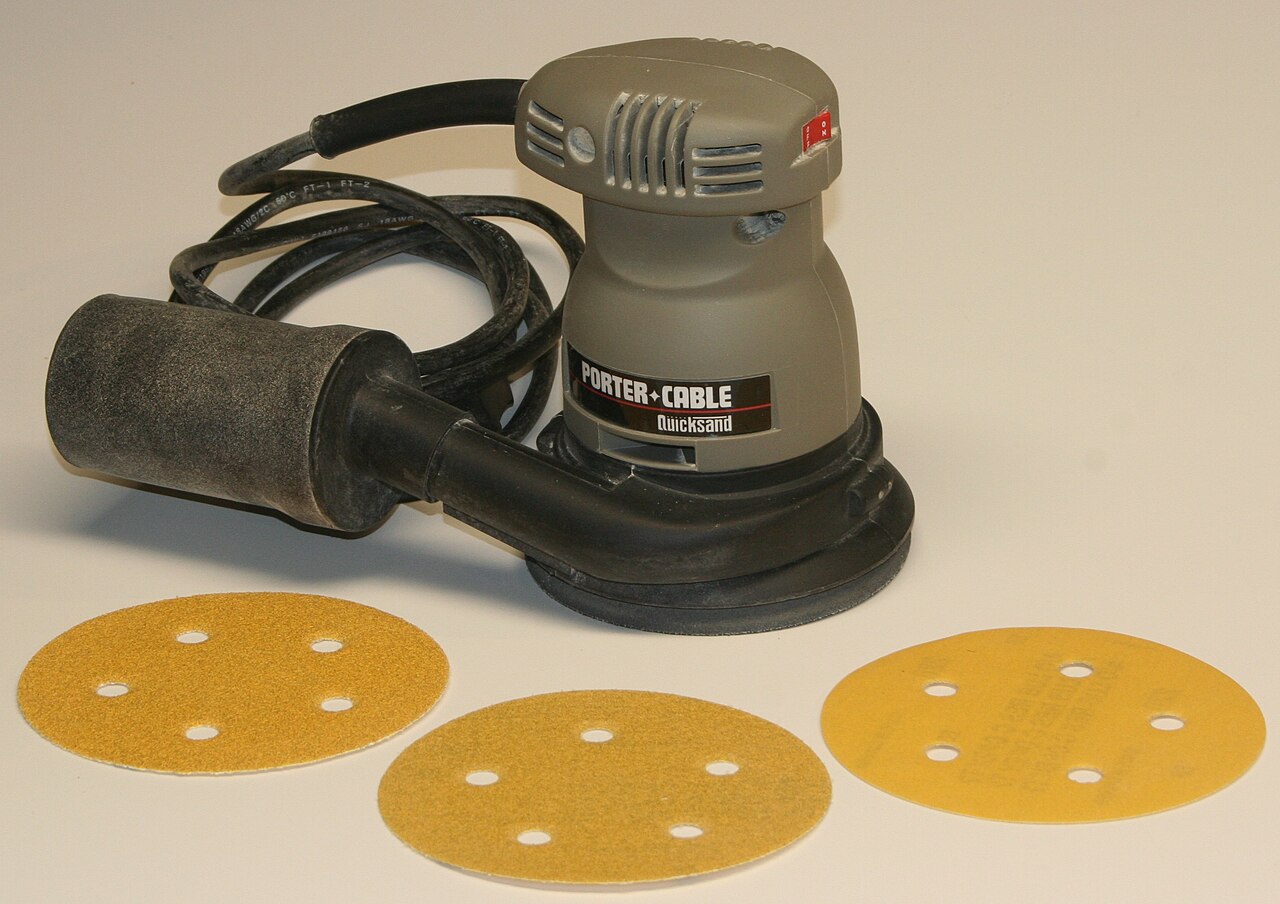

Smooth the faces, edges, and curves.
7. Fit and finish
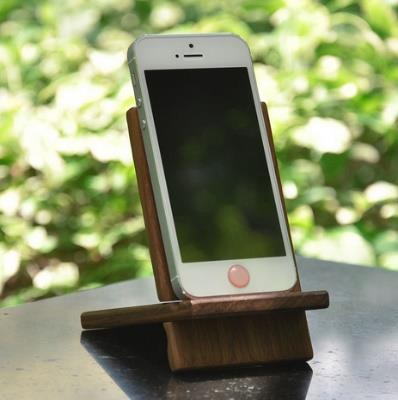
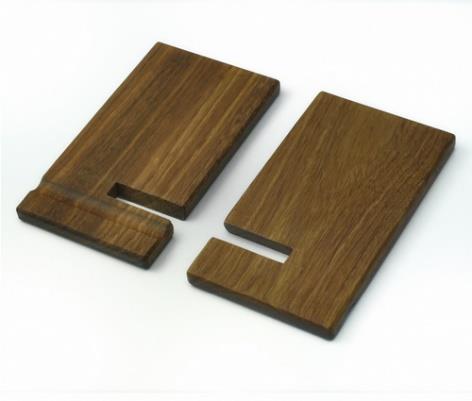
Join the parts. Test the phone. Paint or finish the holder.
Submit
Submit the Onshape link, isometric image, and finished photo.
The simple design comes from the Westdale Cell Phone Holder Project. Use the current premade plan for current sizes and steps.
Next: Advanced Making.