Technological Education Resources Technological Education Resources Tech Edu
  • Educator Resources
    • General Slides
    • General Materials
    • General Design & Fabrication
    • Computer Engineering Notes
  • Classes
    • TAS Slides
    • TEJ Slides
    • TTJ / TTS Slides
  • Glossary
  • Lore
  • About
  1. Laser Cutting for Technology Education | SVG, Kerf, Fits & Fabrication
  • General Design & Fabrication Home
  • 1. Culture and Land-Based Learning
    • 1. Grandmother Moon, Seasons, and Turtle’s Back
    • 2. Land Lettermark
  • 2. S.O. N.I.C.E. Design Process
    • 1. Understand the Situation & Opportunity
    • 2. Record User Needs
    • 3. Necessities and Nice-to-Haves
    • 4. Rank Priorities
    • 5. Investigate and Inquire
    • 6. Create and Communicate
    • 7. Evaluate and Repeat
  • 3. Emotions and Visual Communication
    • 1. Fear and Anxiety
    • 2. Anger
    • 3. Disgust
    • 4. Envy
    • 5. Jealousy
    • 6. Guilt
    • 7. Shame
    • 8. Happiness
    • 9. Love
    • 10. Sadness
  • 4. Logo Design in Photopea
    • 1. Build the Nameplate Text
    • 2. Warm-Up: Trace the AA Logo
    • 3. Trace a Multi-Layer Logo
    • 4. Combine Logo and Nameplate
    • 5. Design Your Own Name Tag
  • 5. Logo Animation
    • 1. Bring Your Brand to Life: Animate Your Logo
  • 6. Accessible Design
    • 1. Access and Alt Text
    • 2. Fonts and Text Effects
    • 3. Understanding Colour
    • 4. Contrast and Output
  • 7. Laser Cutting and Fabrication Tools
    • 1. Make It Stand
    • 2. Measure and Place
    • 3. Material Fit and Calibration
    • 4. Assemblies and Hybrid Fabrication
    • 5. Laser-Cut Assembly, Adhesives & Finishing
    • 6. Wall and Bench Tool Module
    • 7. Design and Fabrication Capstone
  • 8. Making the Phone Holder
    • 1. Choose Your Phone Holder
    • 2. CAD You Need
    • 3. Tools and Machines
    • 4. Build Steps
  • 9. Advanced Making: Stamp or Faux-Enamel Jewellery
    • 1. Mission 2: Logo Stamp
    • 2. Tinkercad Logo Stamp
    • 3. Onshape Logo Stamp
    • 4. Mission 3: Tinkercad Faux-Enamel Brooch
    • 5. Onshape Faux-Enamel Jewellery
  • CAD Tools
    • Fabrication Plate Builder
    • Laser-Cut Leg & Support Builder
    • Tool Organizer Gallery
  • Laser-Cutting Files and Resources

Laser Cutting for Technology Education | SVG, Kerf, Fits & Fabrication

Laser-cutting projects, lessons, SVG files and design tools.

Start with a project. Open a lesson, file or design tool when you need it.

Start the name tag Browse SVG files Open the plate builder Open the leg builder

Testing and iteration in practice

Small tests lead to better builds. Compare, record and revise.
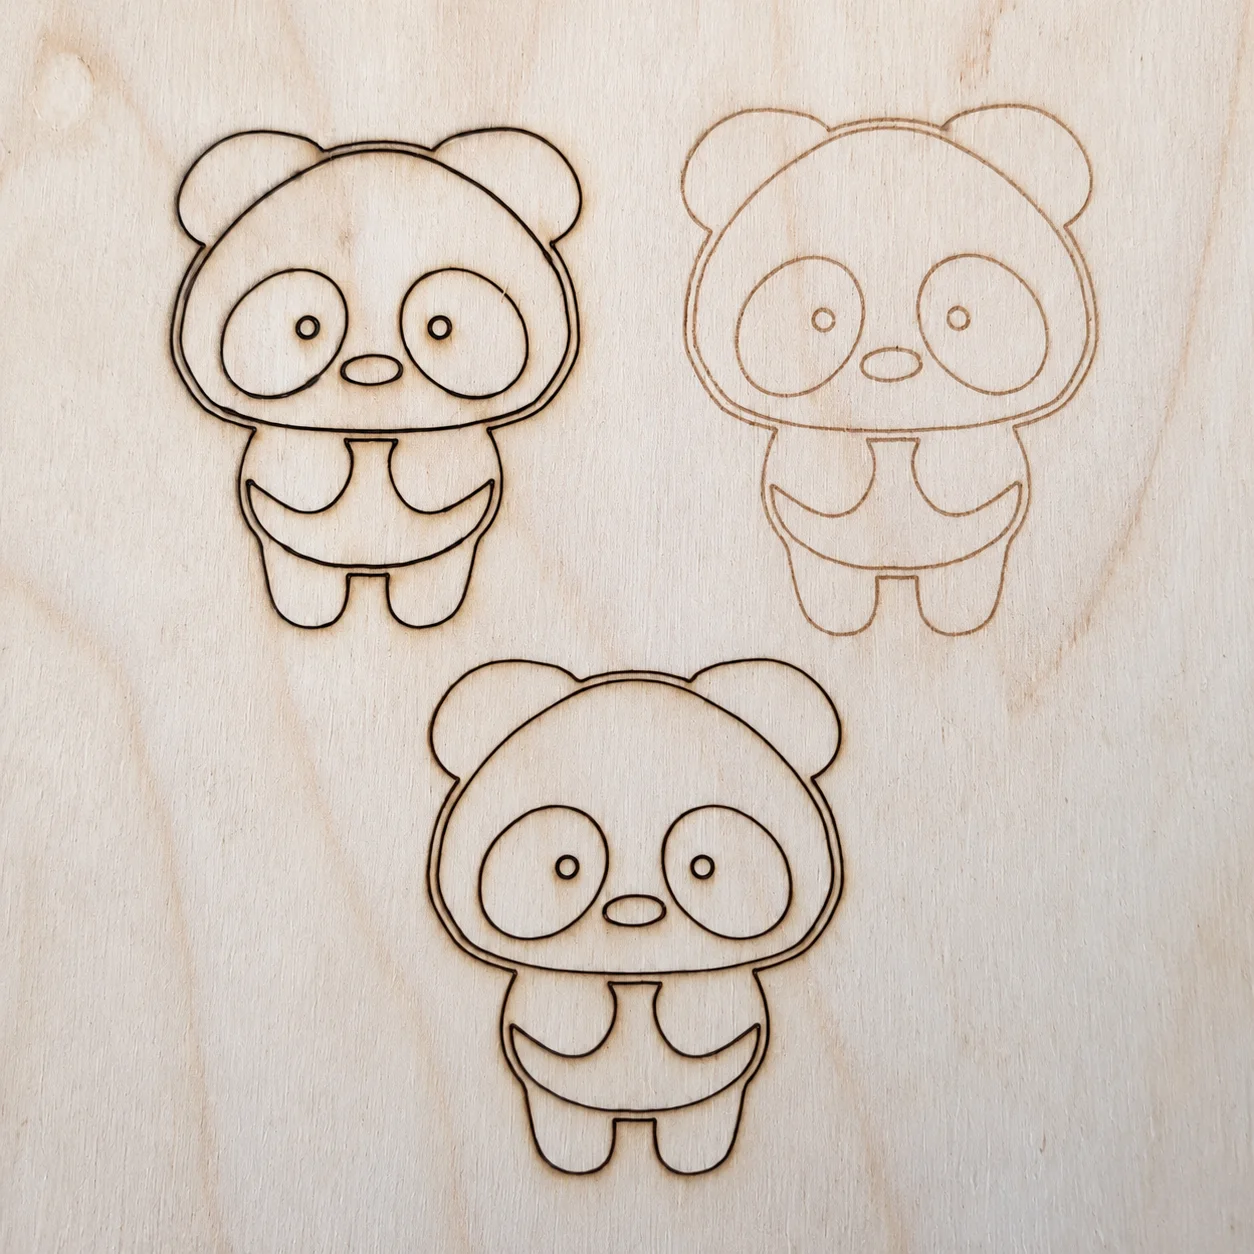
Three bear shapes on plywood showing different laser line darkness and cutting results
Power and line-quality tests. The bears are repeated test samples: their purpose is to make differences in engraving and cutting easy to see, not to prescribe a finished design.
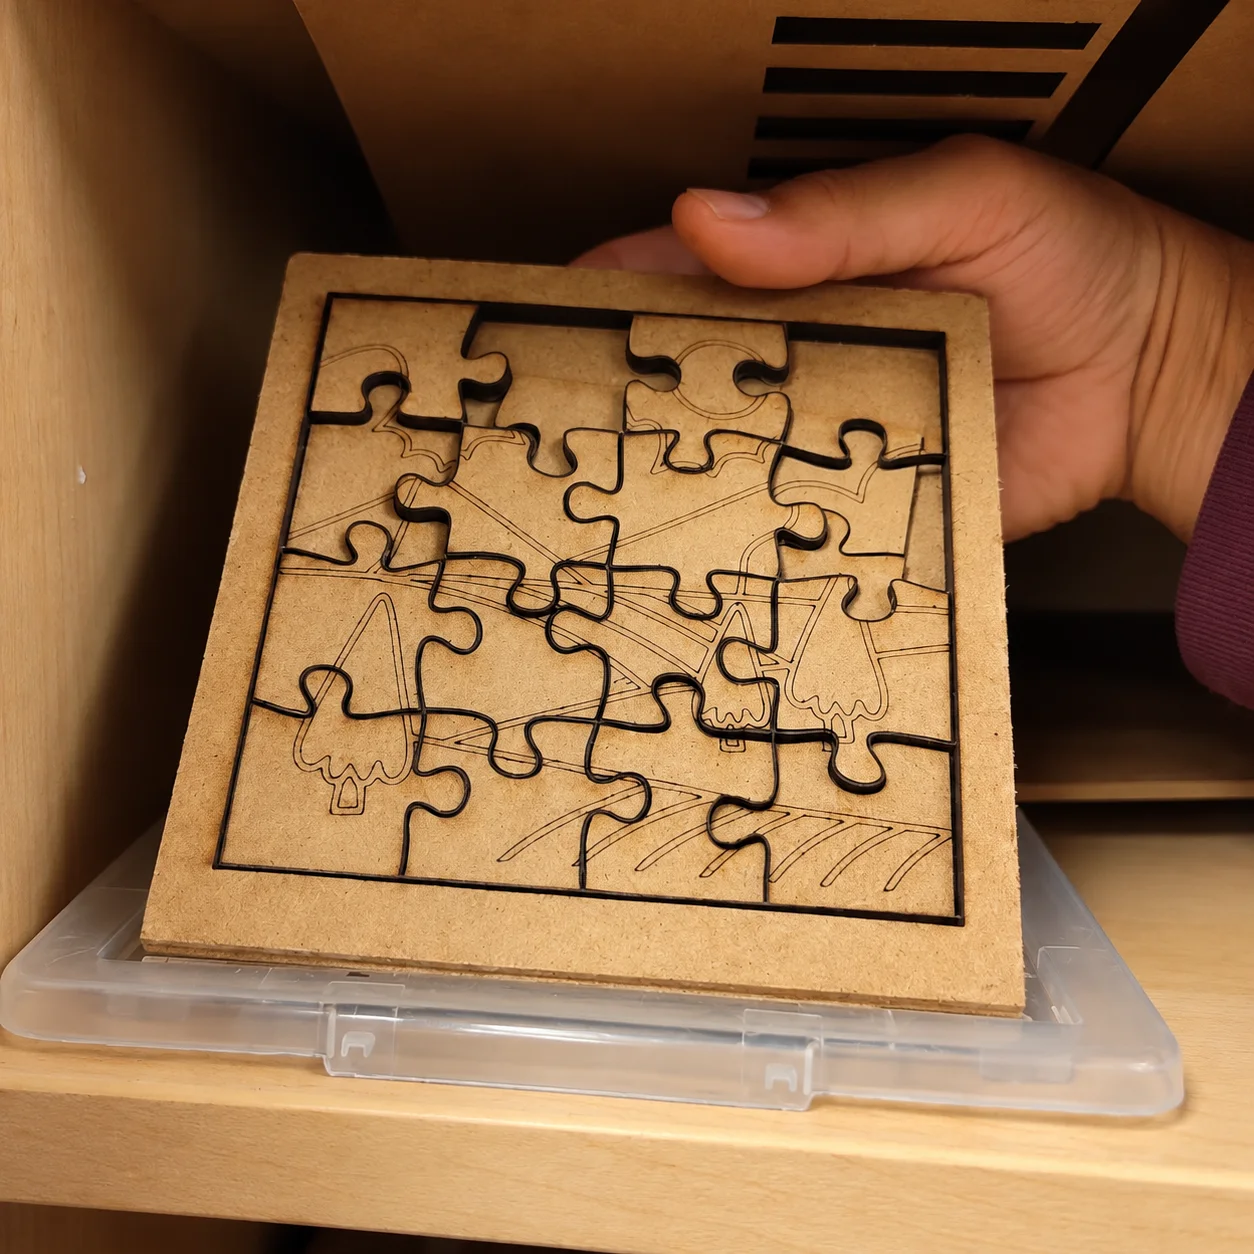
Hand holding a laser-cut bear puzzle prototype
Cut and fit prototype. Repeating interlocking geometry exposes incomplete cuts, excessive burning and pieces that fit too loosely or tightly.
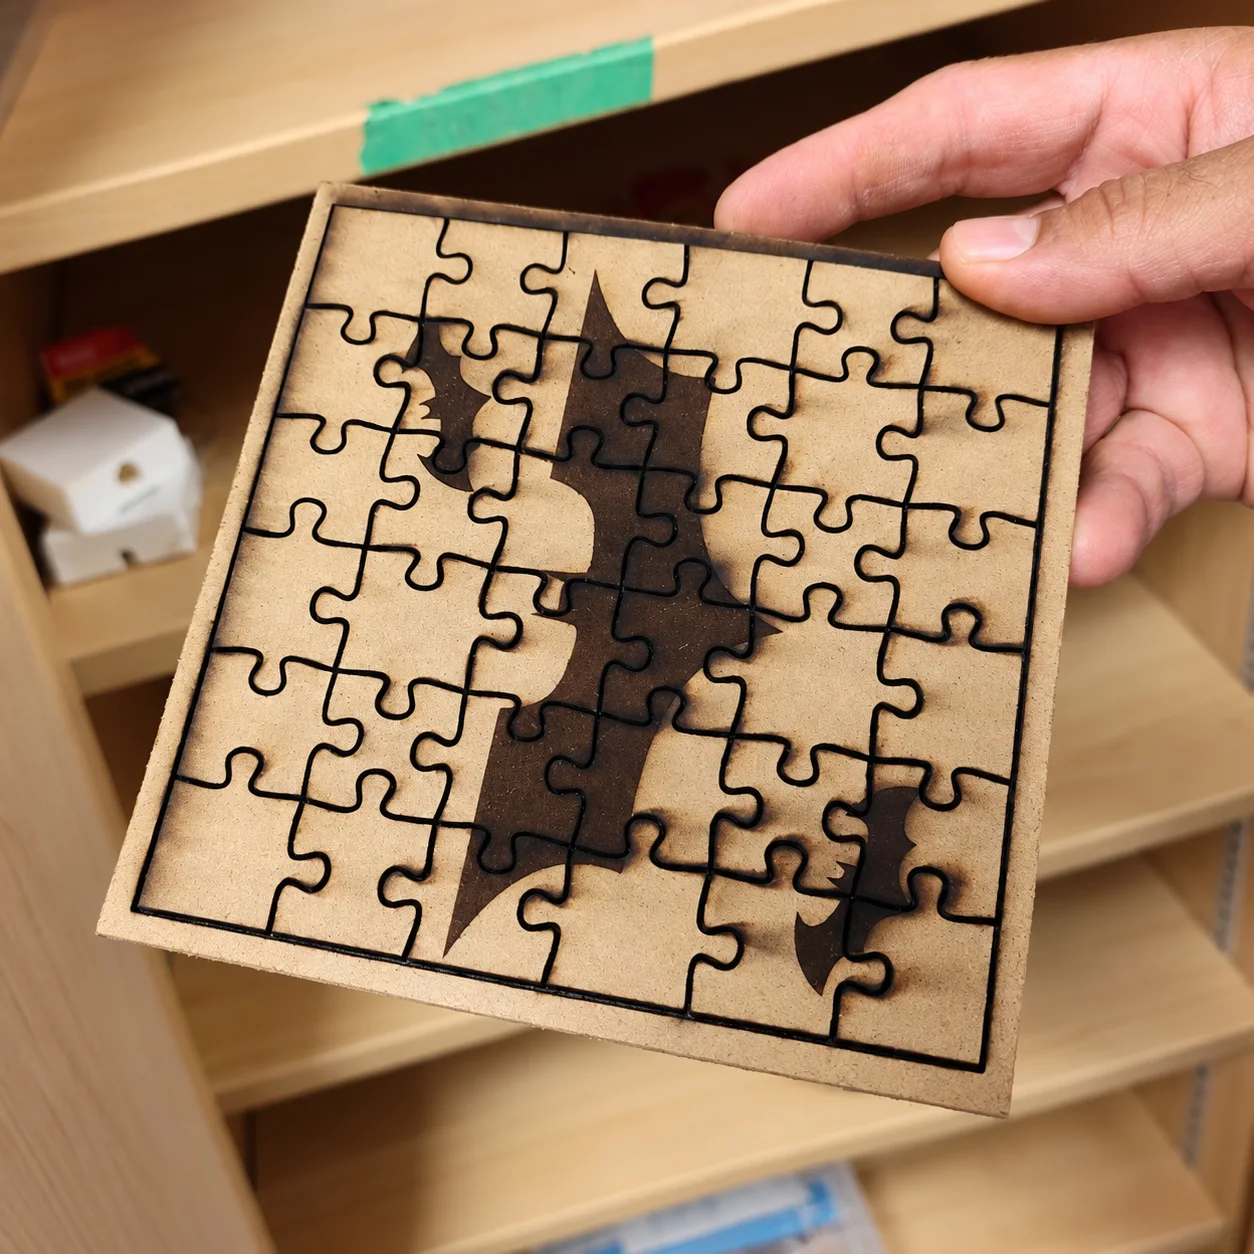
Hand holding an engraved laser-cut puzzle prototype
Engraving plus cut geometry. One sample can test whether the image remains readable after puzzle lines, kerf and handling are introduced.
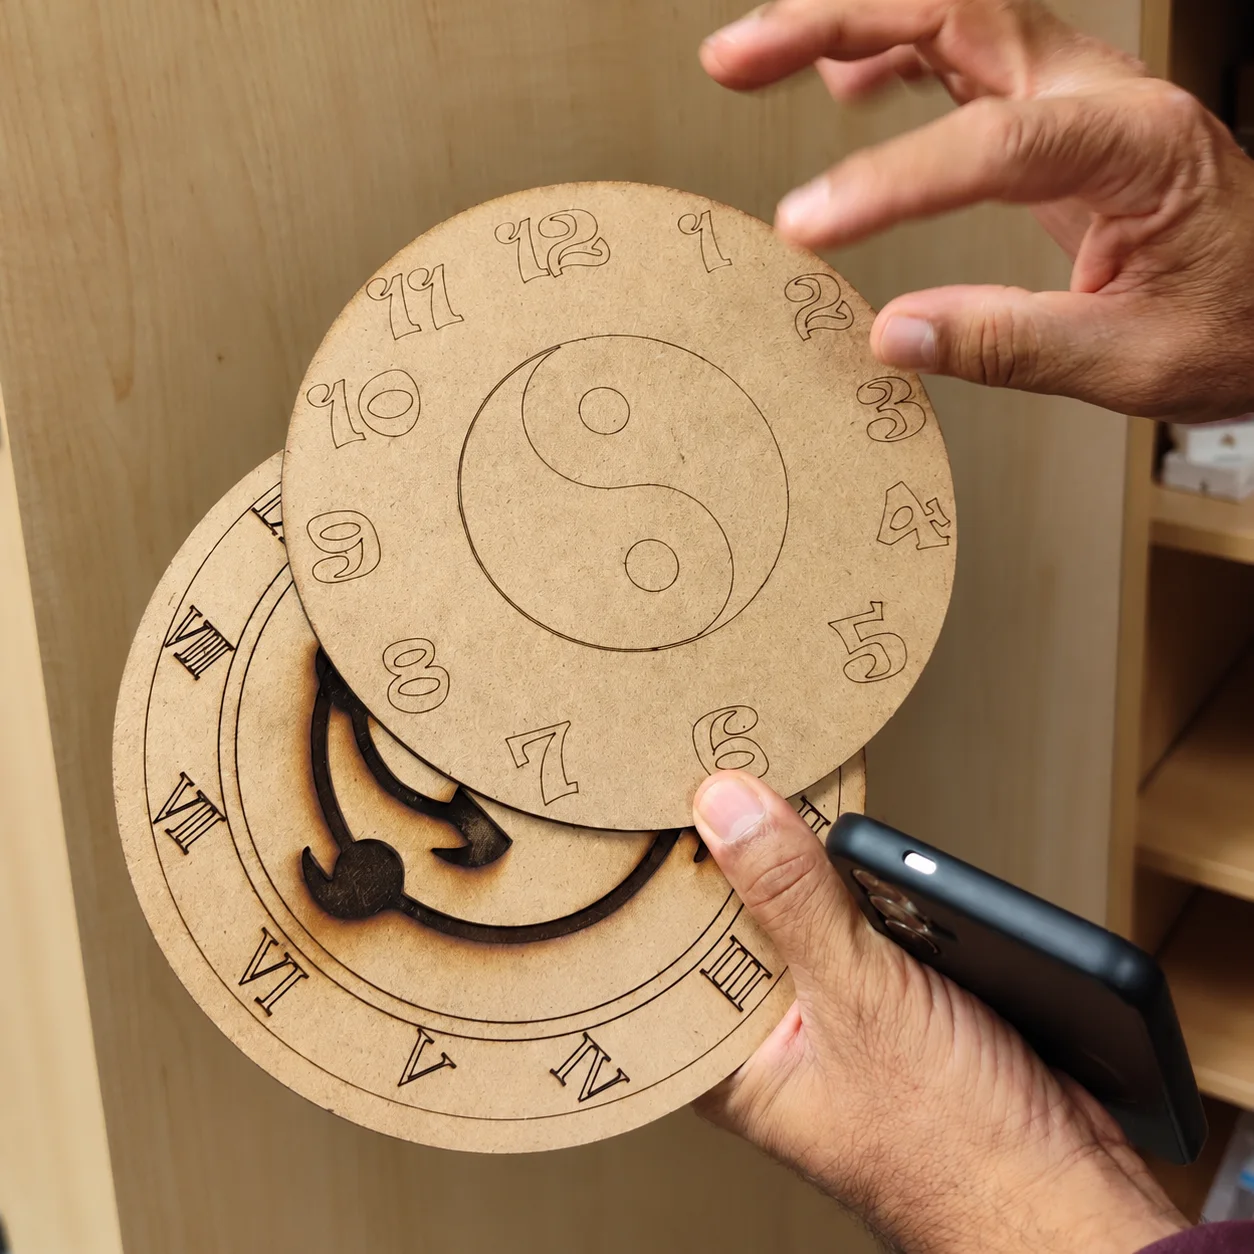
Two overlapping circular laser-cut dial prototypes with different number styles
Compare alternatives. Different faces, symbols and mechanisms make design choices visible so evidence can guide the next version.
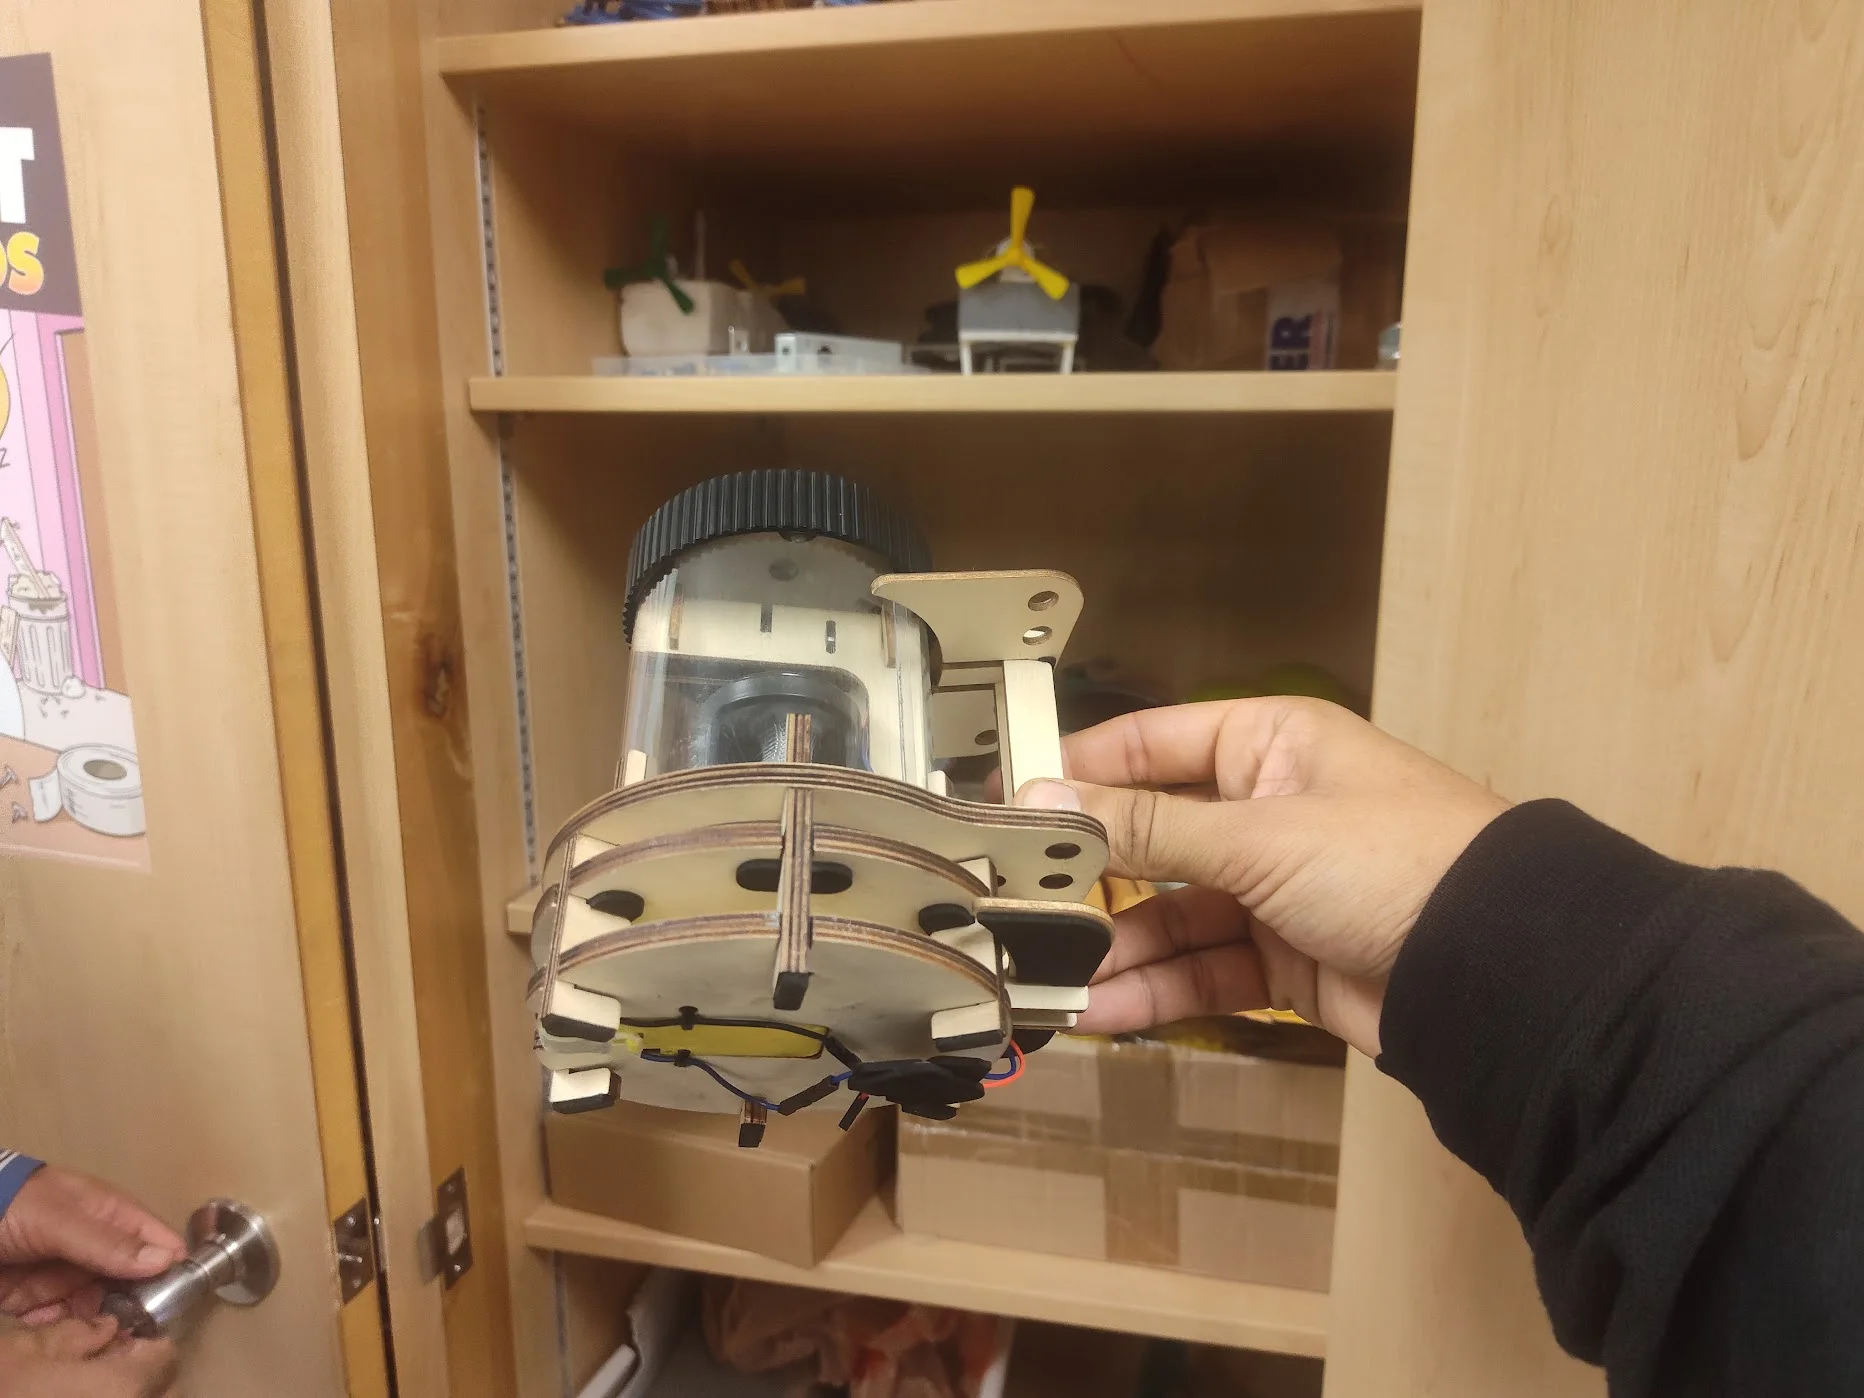
Hand holding a layered laser-cut mechanical prototype with a clear cylindrical body
Functional prototype. Layered plates, slots, fasteners, wiring and moving parts shift testing from appearance to assembly, access and operation.
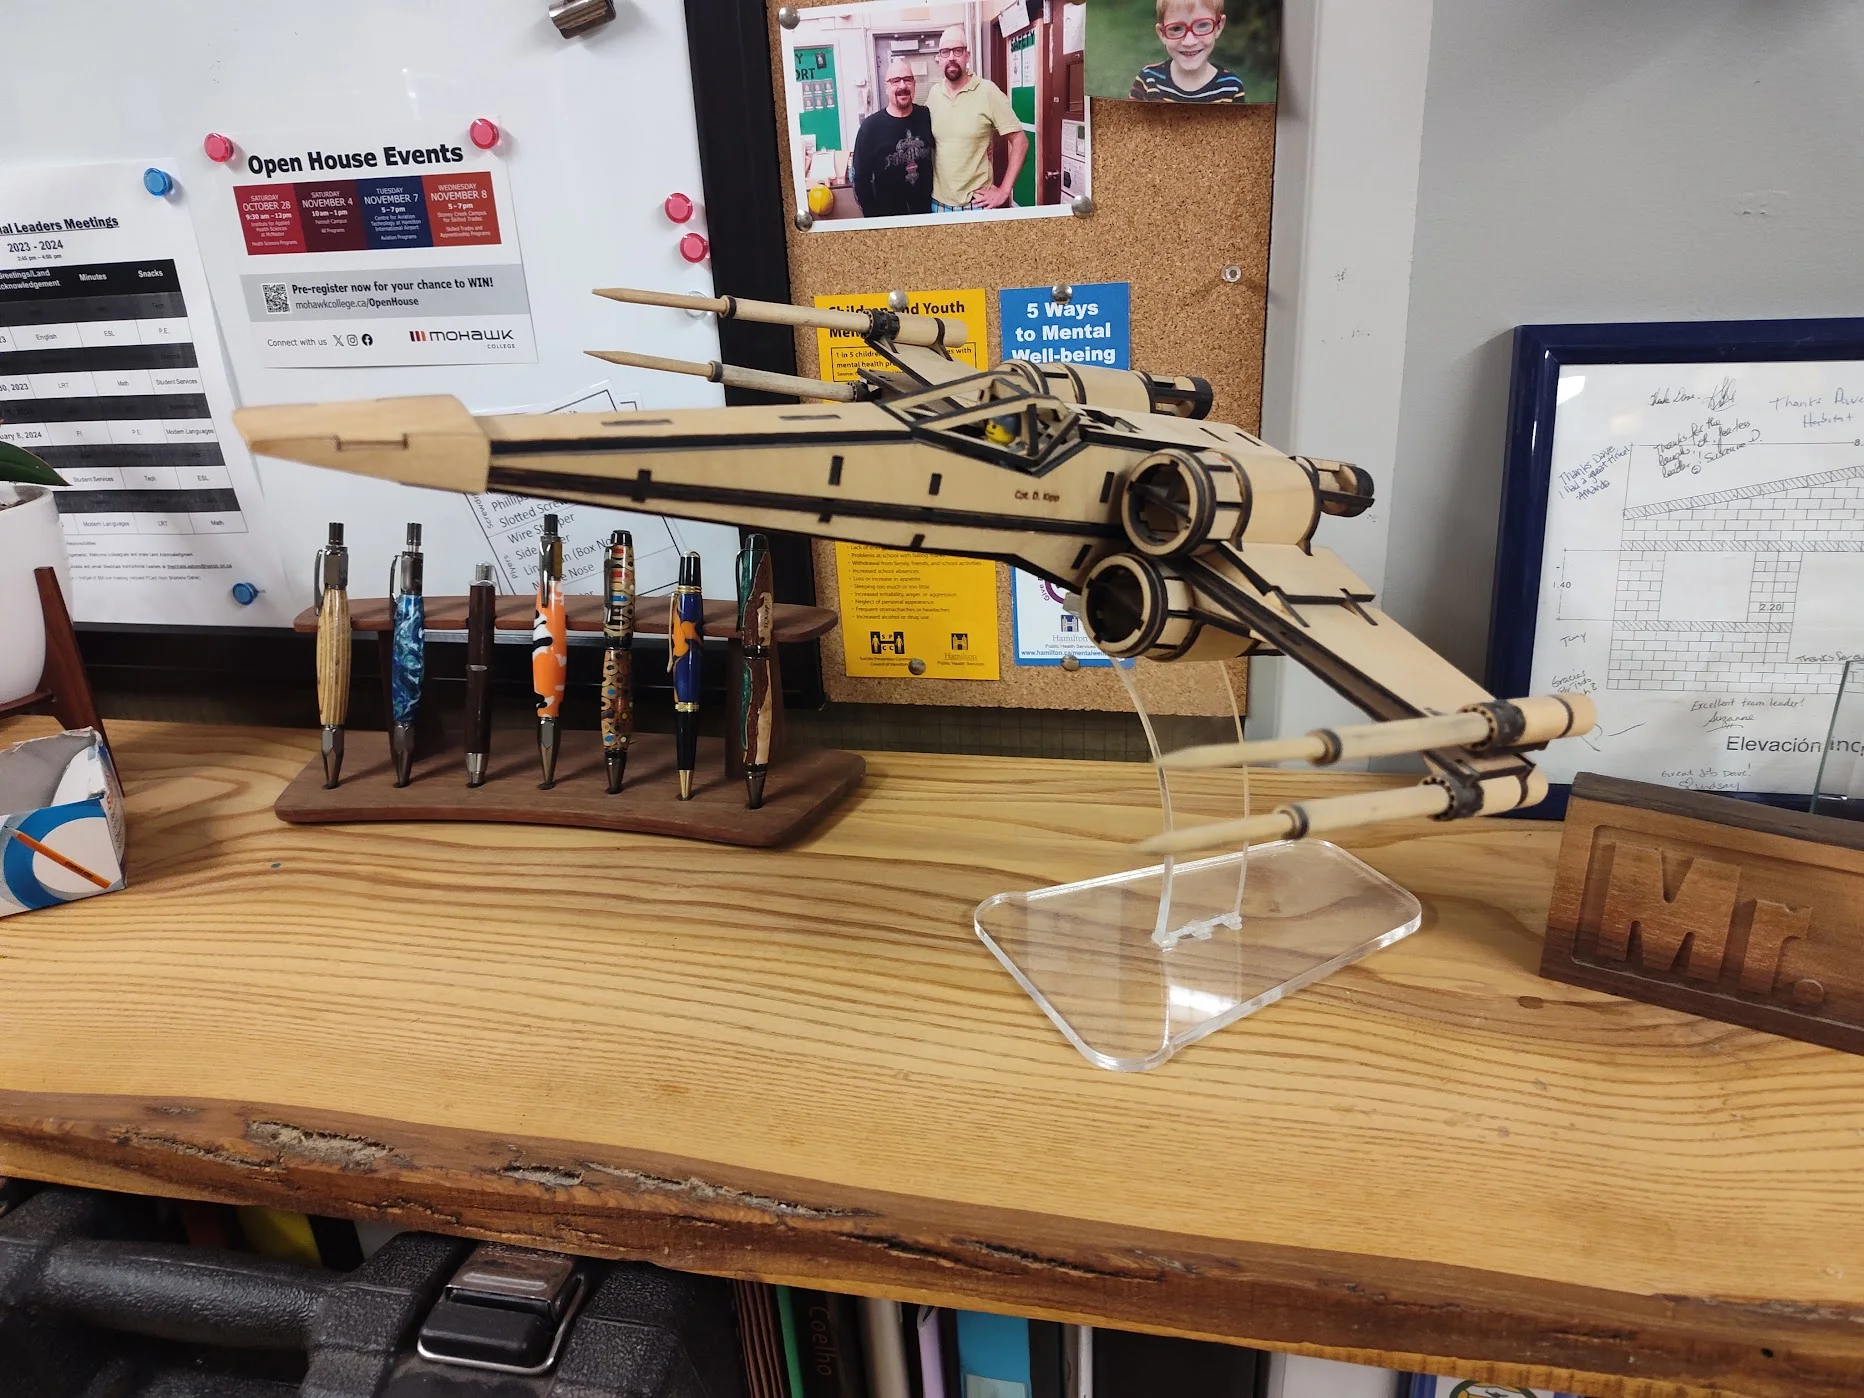
Detailed laser-cut wooden spacecraft display model on a clear stand
Refined display model. A developed build still depends on earlier tests of scale, joint fit, alignment, support and finish.

Use the material-fit calibration workflow to plan controlled tests, then use Evaluate, Improve & Repeat to turn observations into a specific next decision.
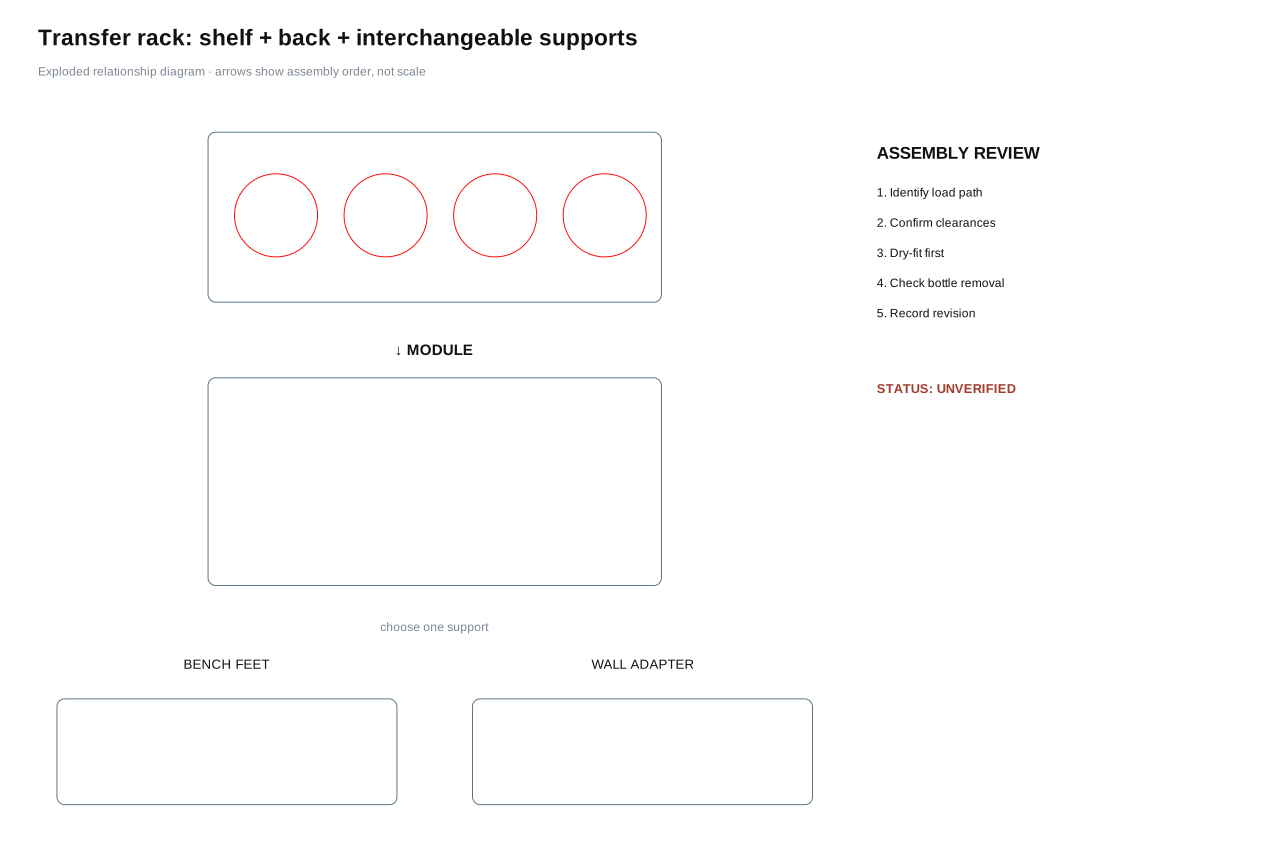
Exploded preview of the removable pill-bottle organizer

Advanced extension · not a required TAS project

Organizer assemblies and reusable fabrication tools

Compare five pill-bottle strategies, inspect exploded views and true-size parts sheets, then study real build/revision evidence in the Tool Organizer Gallery.

Open the Tool Organizer Gallery View reference assemblies

Current TAS project

Name + Logo Wood Name Tag

First, students use the three Photopea walkthroughs to follow the worked ANDRADE example. Next, they design their own name + logo name tag, compare fonts and layouts, and get teacher approval. Then they use the approved files to prepare the machine job, engrave the name tag, and evaluate spacing and legibility.

Open the name-tag project →

Learn as the project requires

  1. Measure + Place: use calipers, exact geometry, spacing, arrays, and margins.
  2. Material Fit + Calibration: measure actual stock, test kerf and choose a fit.
  3. Assemblies + Hybrid Fabrication: combine precision faces with structural backers and conventional hardware.
  4. Assembly, Adhesives + Finishing: connect joint geometry, bonded area, cleanup tools and surface finish.

Optional and general projects

Optional extension

Make It Stand

Add feet, legs, a slot base, easel or another support to investigate stability and fit.

Open the extension →

Compact seasonal project

Holiday Ornament / Reindeer

Design or legally adapt an ornament; a reindeer is one possible worked idea, not the class answer.

Open the ornament project →

General / advanced

Tool Organizer

Study strong precedents, measure real tools, improve at least three qualities, test access and fit, then document DESIGN → BUILD → FEEDBACK → REVISION.

Open the gallery and design criteria → · Use the reverse-engineering challenge →

General / advanced

Wall + Bench and Capstone

Explore removable mounting, serviceability, hybrid fabrication or an independent N.I.C.E. design problem.

Wall + bench module → · Capstone →

School board and course safety information

This public website explains design and fabrication concepts. Machine-specific safety instruction, operating procedures, assessments, and authorization are kept outside the website. Follow your school board’s safety guidelines and the course-specific instruction provided by your teacher. Students in Mr. Andrade’s classes can find that information in Google Classroom. This page is not permission or authorization to operate equipment.

Ontario curriculum relevance: Strongly relevant to TIJ1O Exploring Technologies, TDJ2O Technological Design, and TMJ2O Manufacturing Technology. Measurement, joinery, fixtures, and material use can support TCJ2O; enclosure and electronics contexts can support TEJ2O; and tool-organization or service contexts can support selected TTJ2O applications.

Senior applications may fit TDJ3M/TDJ4M, TDJ3O/TDJ4O, and relevant TMJ3M/TMJ4M, TMJ3C/TMJ4C, or TMJ3E/TMJ4E projects when the actual lesson addresses CAD/CAM, manufacturing processes, precision, fixtures, or assemblies.

Start with the Name + Logo Wood Name Tag, or browse the complete Fabrication Library & Tools collection.

Website code: AGPL 3.0. Educational content: CC BY-SA 4.0.

Educational content may be shared, copied, modified, and redistributed. Keep the CC BY-SA 4.0 licence and credit Andrew Andrade, andrewandrade.ca, and github.com/mrandrewandrade. Add your own name and links when adapting it. Sharing is caring.

The website code uses the AGPL 3.0, a copyleft licence: if you share modified code or run a modified version as a network service, you must make the corresponding source code available under the same licence.

 
  • References

  • Licensing